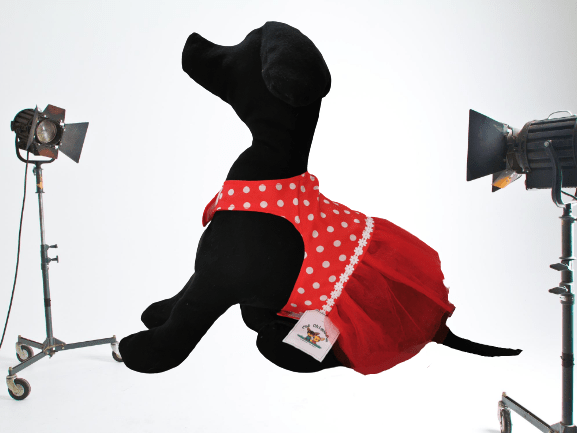
¡Welcome to Chiguawis!
Today we bring you this tutorial of the dog pattern to know how to put it together in English, since many have asked us for it
For this tutorial, you’ll need:

- 2m of fabric of your choice, for this tutorial I used black fleece fabric
- Scissors, thread, needles and pins.
- Sewing machine (or you can sew it by hand).
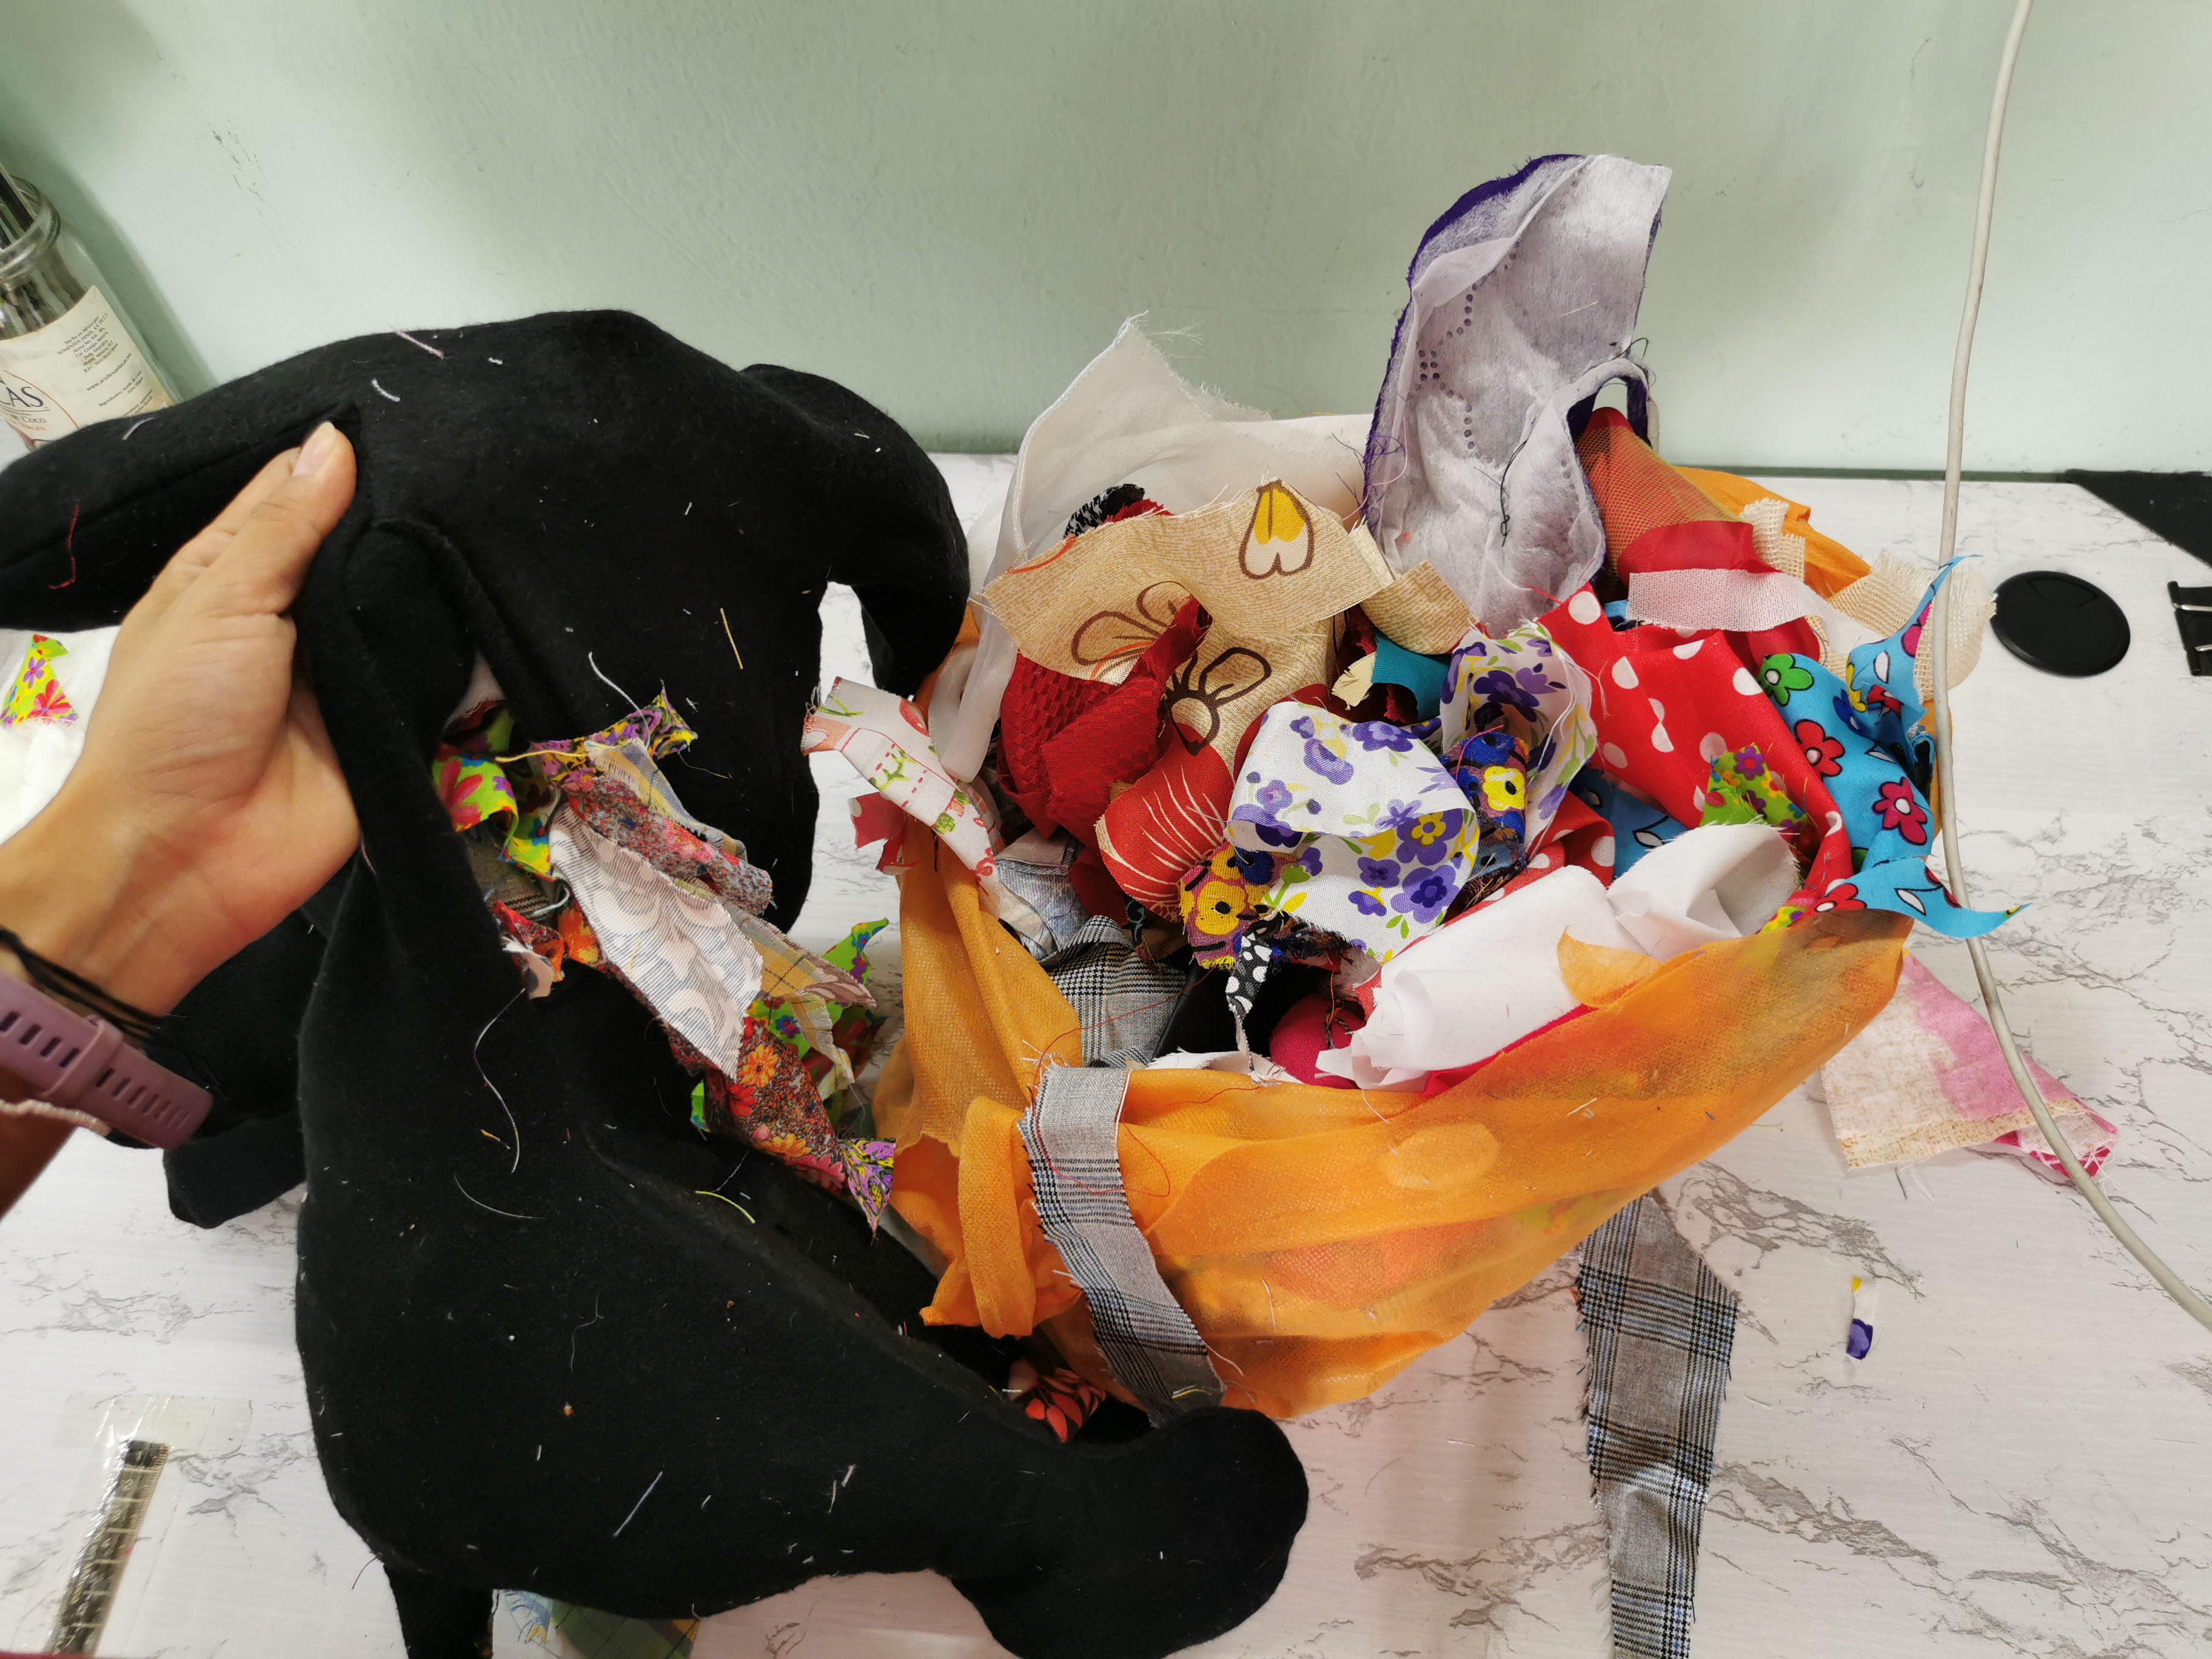
- Filling of your choice. I used leftover fabric.
- Optional: You can put sticks or some rigid structure so that it can be held and modeled as you prefer.
Before you start, you can download the dog mannequin pattern here:

This mold is the property of Los Chiguawis, is for personal use only and its sale and reproduction is prohibited. If you want, you can get the paid version where you will find more sizes of this mold or the commercial license to sell.
¡Let’s started!
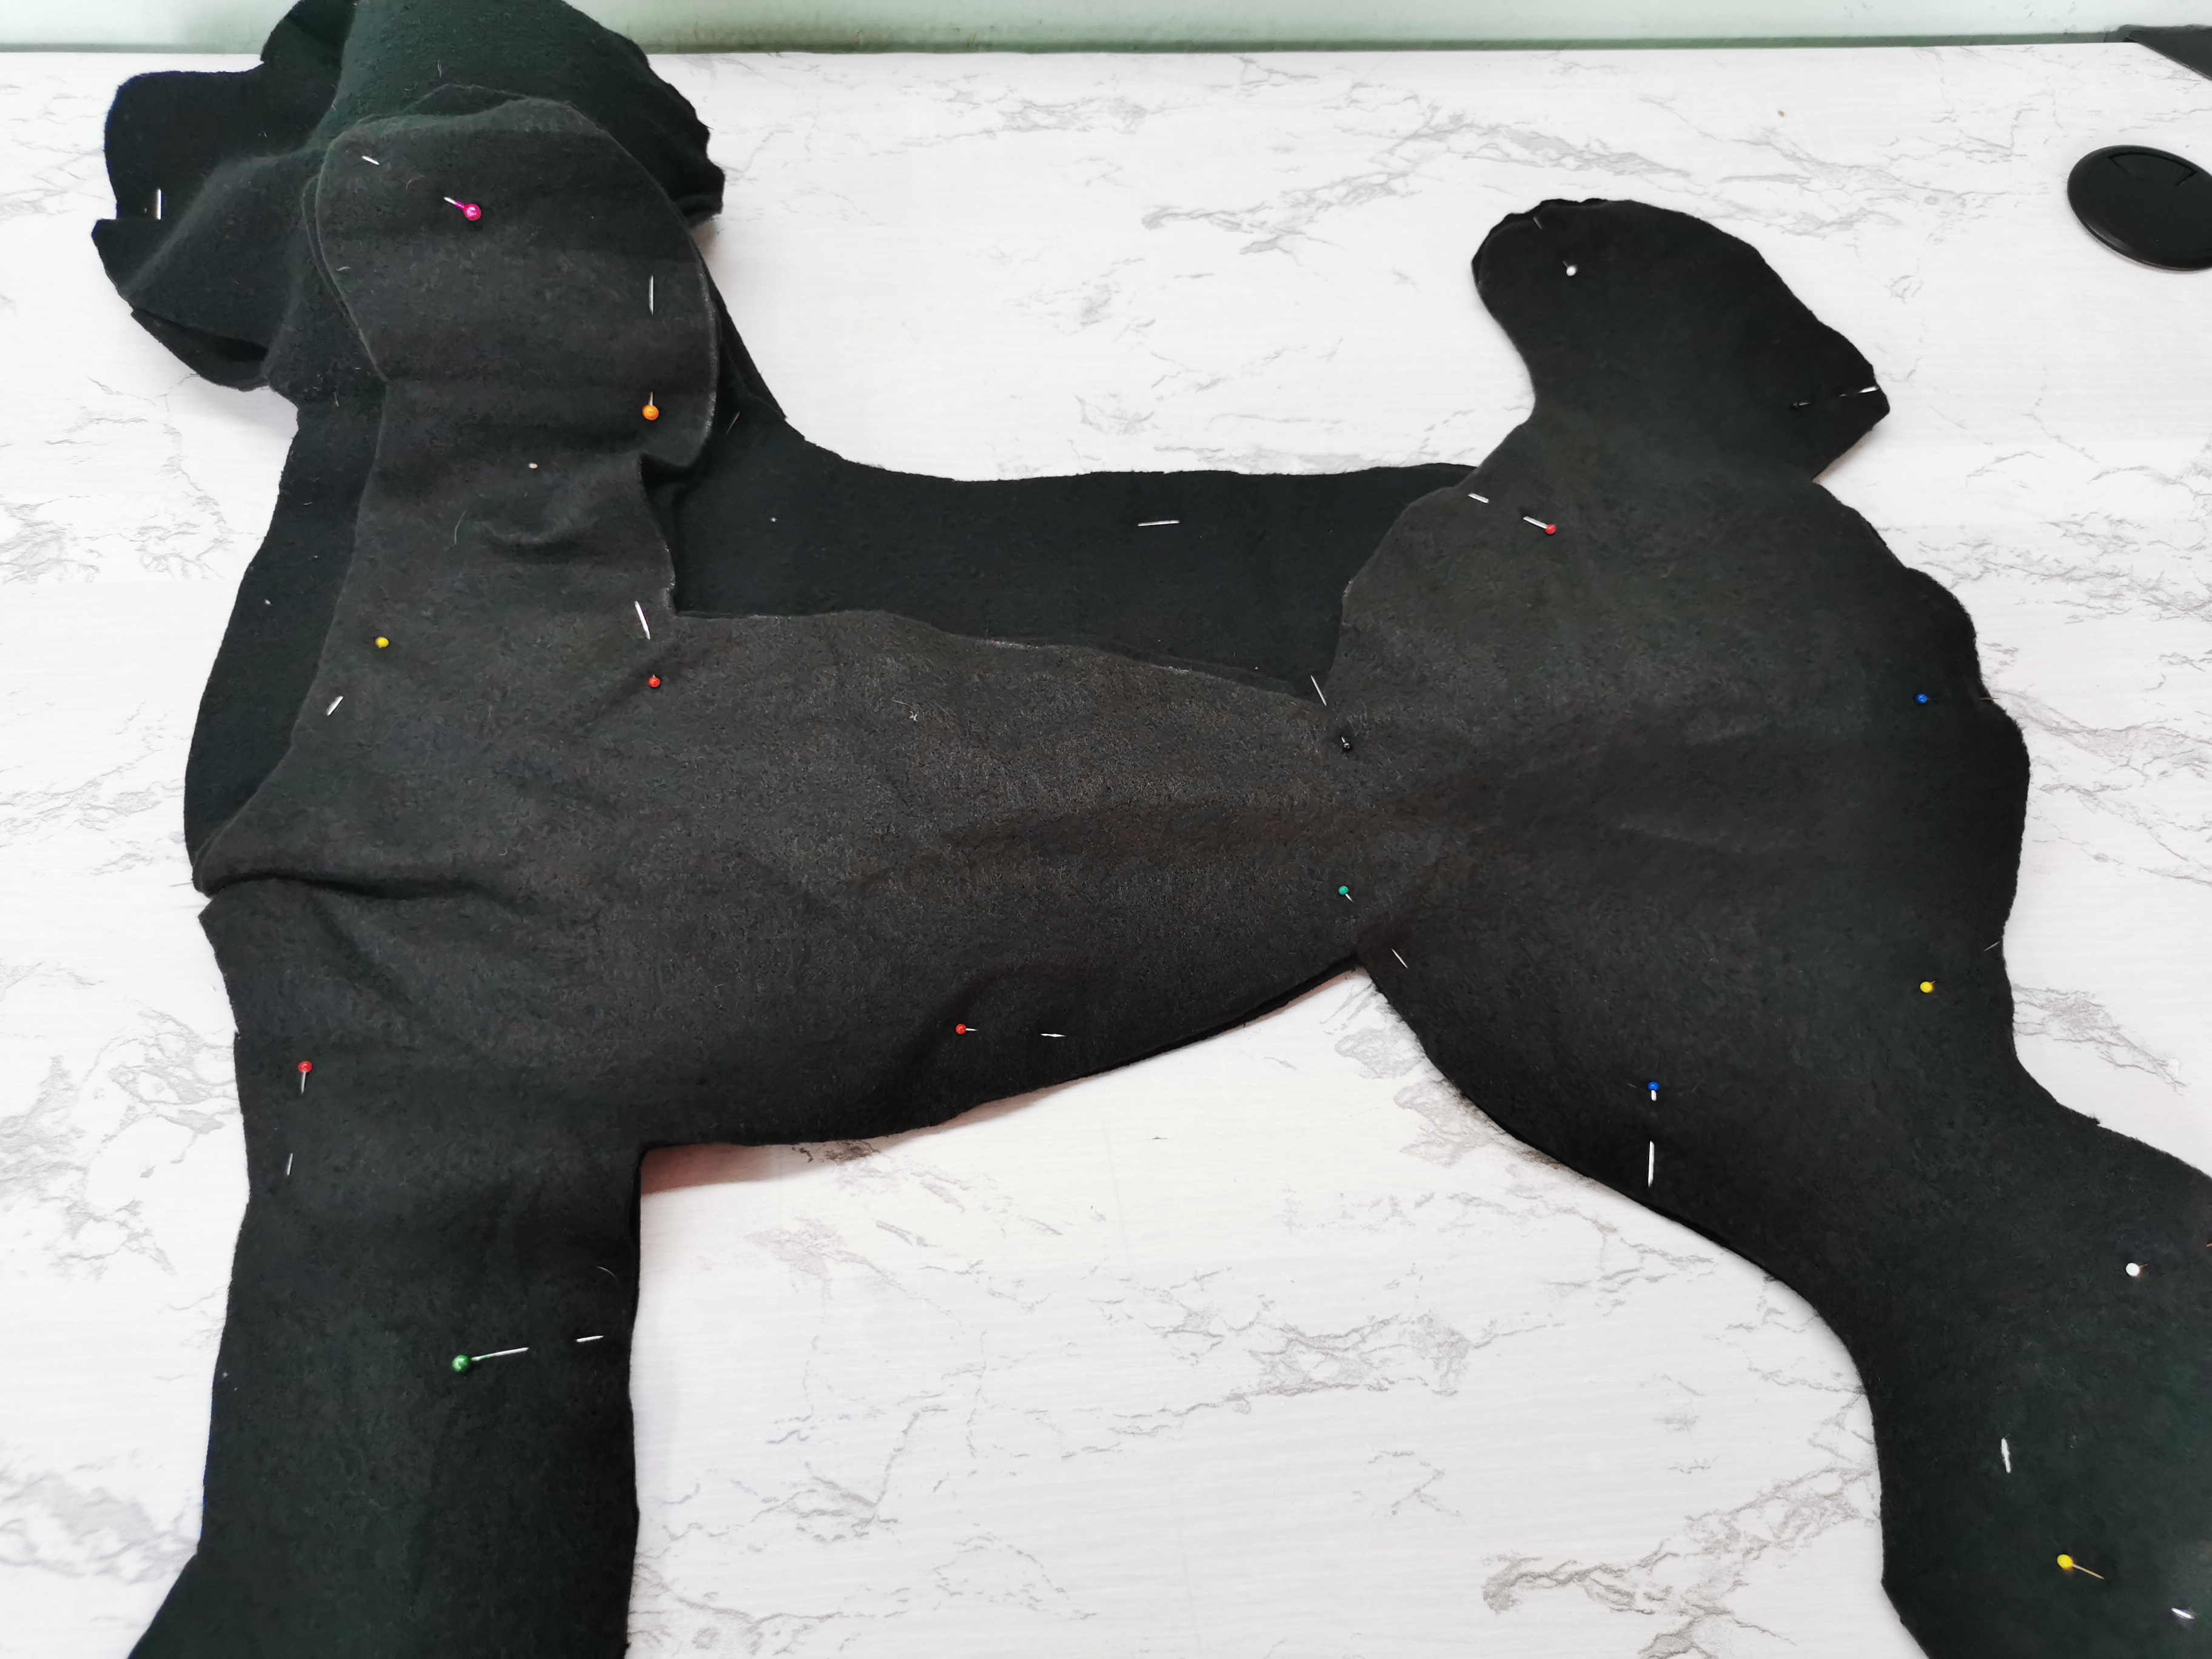
1. Cut all the pieces from the molds, you should have 9 pieces in total.

2. To cut the inner part I give you two options:
a) You can fold the pattern and place it on the fabric
b) Cut the mold and place it on the fabric.

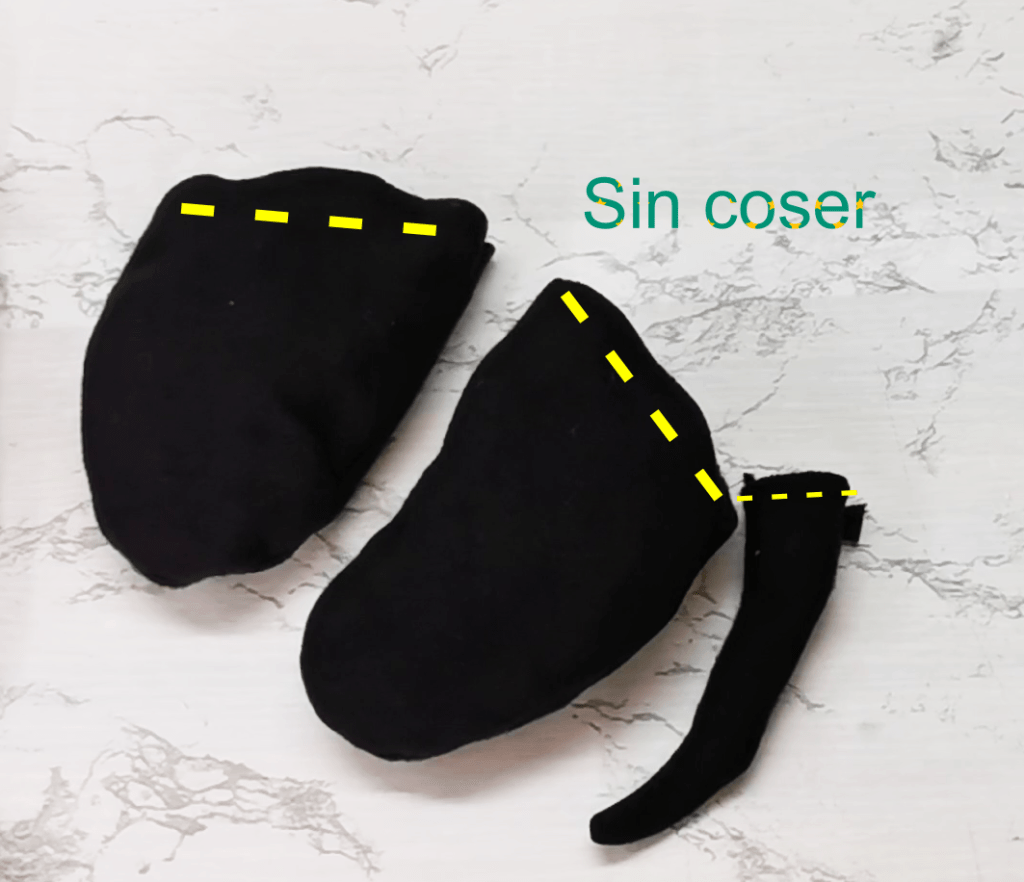
3. Start by sewing the small pieces that are the ears and tail, leaving the bottom part unsewn so that you can flip and join.
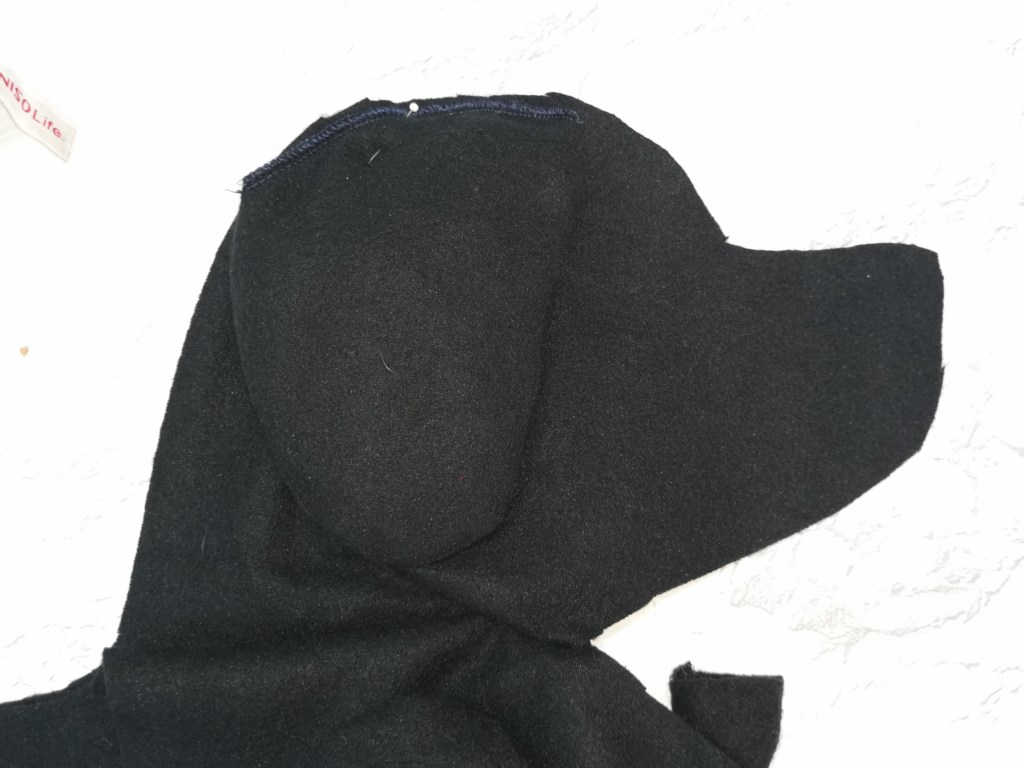
4. Attach the tail and ears to the dog’s head, trying to match the markings.
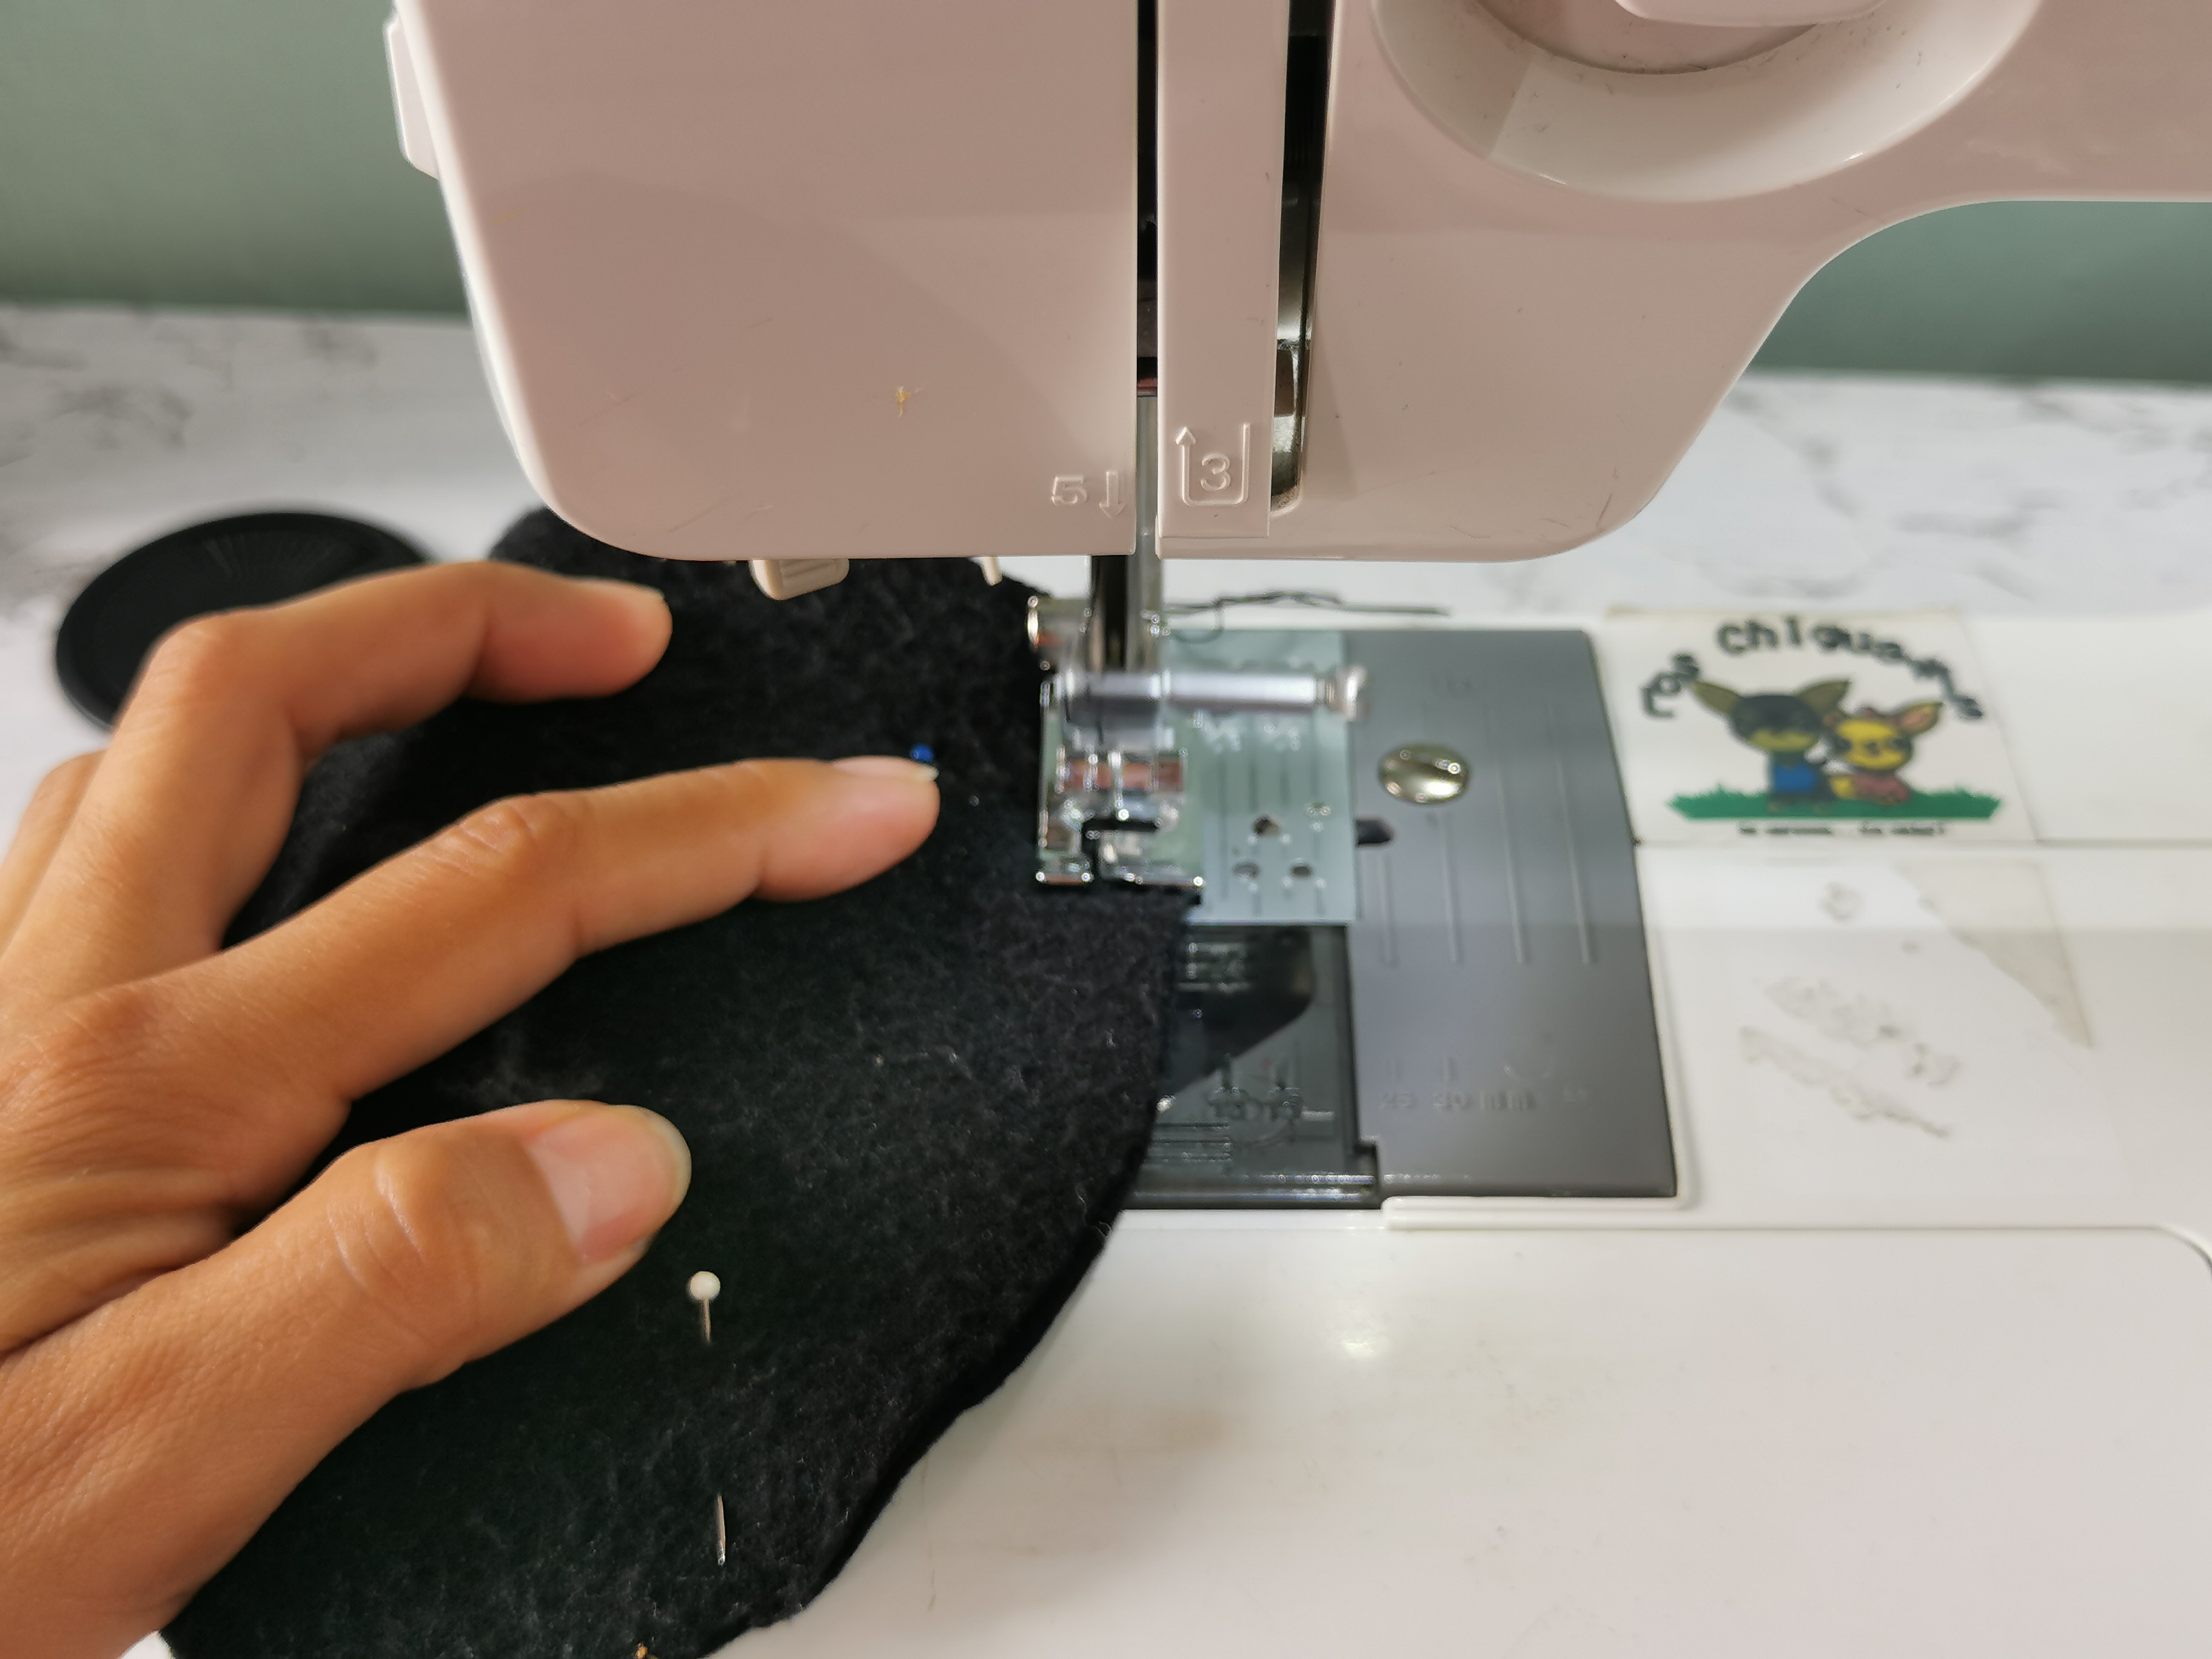
5. Finally, sew the inner part, taking care that the legs and lines coincide. Leave a space to flip and put the filling of your choice, I used scraps of fabric.

Optional: You can leave a space to put a zipper or Velcro on it and it will be easier to remove the filling to wash it.
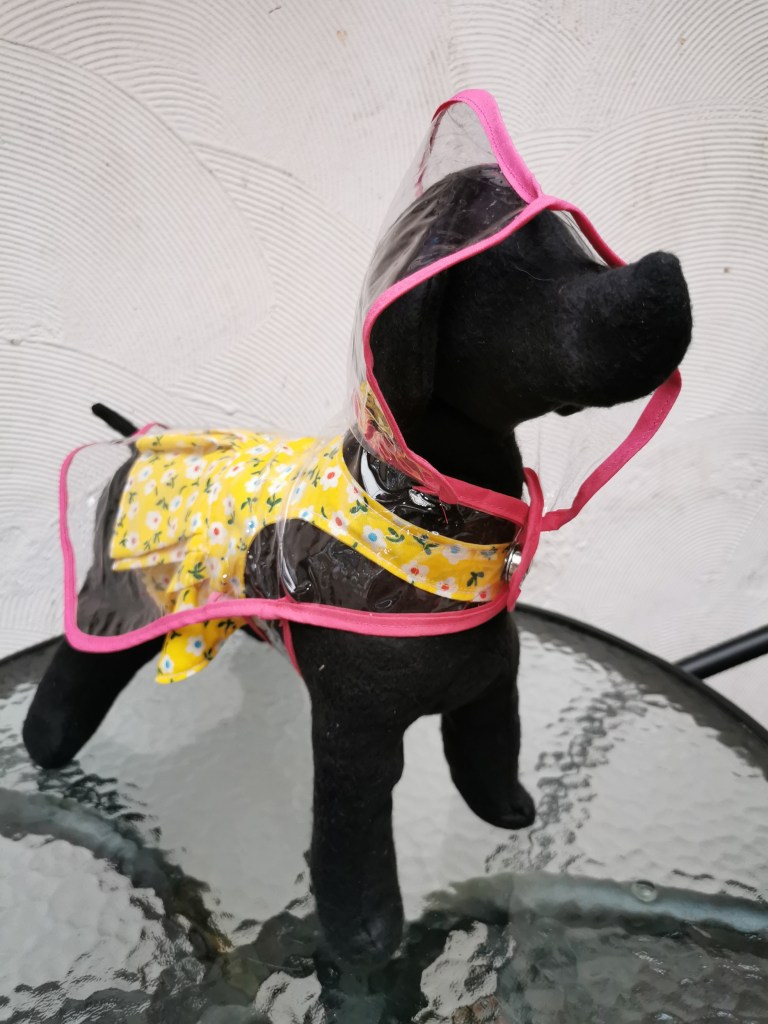
And that’s it! You already have your dog mannequin made by you. You can make it in the colors and materials you like the most. If you do, don’t forget to send us your photos and suggestions.
Los Chiguawis


Deja un comentario